
Drywall Tape and Mud Arlington, TX
Remodeling can leave new drywall beside surfaces that have been painted for decades. Making those areas look consistent takes more than covering the seam. Stone Drywall Solutions provides drywall tape and mud services in Arlington for renovated walls and ceilings. Our team has over 20 years of experience in drywall and finishing.
We review the new board and the surrounding room before starting. That helps identify the preparation needed for a finish that fits the existing space.
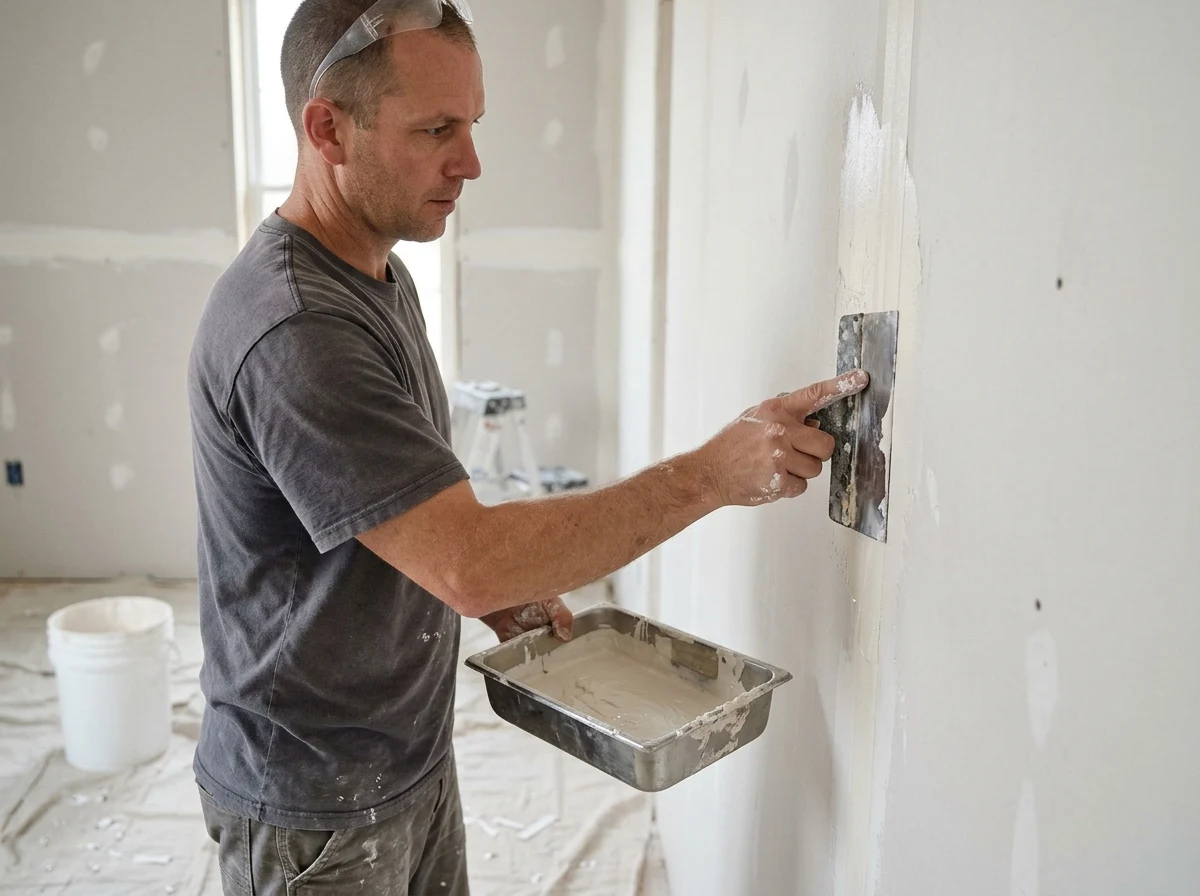
Tape and Mud Drywall for Arlington’s Ranch-Style Home Renovations
Ranch-style homes in established neighborhoods such as Woodland West may undergo kitchen expansions or changes to interior openings. Those updates often retain much of the original room. New drywall must then meet older surfaces with different paint buildup and wall shapes. These transitions need closer assessment than the joints in a completely new room.
Reinforcing the Connection Between Old and New
Drywall joint taping starts with a stable installation. Loose edges and unsupported patches need correction before reinforcement goes on. Tape and compound work together across a sound joint. Neither can compensate for a panel that shifts when touched.
Paper joint tape needs proper bedding in a compatible compound. Voids beneath it can lead to bubbles or poor bonding. Controlled application provides support without leaving excessive material under the tape. Later coats build the finish gradually rather than trying to complete everything at once.
The surrounding paint must also provide a suitable surface for the planned repair. Loose coatings or contamination can weaken adhesion. Preparation should address those conditions before blending begins. The new joint is only part of the area that needs checking.
Feathering Across Existing Surfaces
Older walls may sit slightly proud of new board. A modest difference can sometimes be blended with wider compound application. Larger misalignment needs correction beneath the finish. Feathering should soften a transition, not hide a board installation that is far out of position.
The finished area may extend well beyond the visible seam. This wider blend reduces a sudden ridge after painting. It also means nearby trim and fixtures may need protection. Define those boundaries before work starts so the homeowner knows which surfaces will be affected.
Texture matching follows the joint work. A ridge beneath orange peel or knockdown will not disappear simply because texture covers it. Complete the seam finishing first, then address the surrounding pattern. Painting comes after both stages are ready.
Finishing Drywall Joints on Arlington’s Vaulted Ceilings and Open Living Areas
Vaulted ceilings and tall living-room walls expose joints over broad surfaces. Light from a window or directional fixture can reveal slight changes in height. Drywall ceiling finishing should account for those views. The required result depends on the intended decoration as well as the workmanship at each seam.
Forming Sloped Joints and Inside Corners
A sloped ceiling connection needs a consistent line across its length. Suitable reinforcement should follow the angle without twisting or pulling away. Excess compound can make the corner look rounded. Careful shaping keeps the line defined while allowing the adjoining surfaces to blend.
Inside corners also need attention to both faces. Heavy buildup on one wall can make the junction appear uneven. The finishing sequence should allow controlled application rather than repeated disturbance of wet material. Suitable drying between stages supports a cleaner result.
Exposed beams create additional edges to protect. Confirm whether the beam finish will remain untouched. Compound and sanding dust should not be allowed to collect on unprotected decorative surfaces. Clear boundaries help preserve the features that stay.
Reviewing Large Walls Before Paint
Broad connected walls should be checked as complete surfaces. Isolated inspection of each joint can miss an overall band or uneven transition. Look from the normal seating area and adjoining room. Natural light can reveal a different view from the work lights used during application.
Sanding removes minor ridges but should not expose tape or damage drywall paper. Low spots may need more compound instead. The correction should follow the defect. Repeatedly sanding the whole area can create new problems without solving the original one.
Understanding Cost and Completion Time
Drywall finishing cost depends on joint condition and access. A small high-ceiling repair may need substantial setup. The estimate should distinguish new finishing from drywall seam repair. Texture and paint should be listed if included.
Drying time varies with the product and indoor conditions. A fixed one-day promise may not suit the work. Schedule decoration after the required finishing stages are complete and inspected.
Contact Stone Drywall Solutions at 469-999-8302 to discuss drywall taping and mudding in Arlington. Share photos of the remodeled connections and any elevated ceiling areas.
Frequently Asked Questions
It may soften minor surface differences, but it will not reliably hide a ridge or poor joint. The seam should be finished properly before texturing.
No. Setting and drying are different. Follow the product’s requirements before sanding, priming, or painting.
Yes, if that is the agreed scope. Wall-to-ceiling connections and protection of nearby walls still need consideration. Define those boundaries before work begins.
Loose tape needs assessment and removal or repair as appropriate. Coating over a failed bond leaves a weak base beneath the new finish.
Arlington, TX Services
Transform Your Space with Expert Craftsmanship
Stone Drywall Solutions is your trusted partner for all drywall and painting needs. Contact us today for a free consultation and let us bring your vision to life with quality services you can rely on.