The right fix for a hole in drywall depends mostly on its size. Nail and anchor holes need only spackle, holes up to roughly six inches usually take a patch covered with joint compound, and anything larger is repaired by cutting out the damaged area and rebuilding it with backing support. After that, every repair ends the same way: sanding, primer, texture, and paint, and those last steps decide whether anyone can tell the wall was ever damaged. In Dallas, where orange peel and knockdown textures are common, texture matching is often the hardest part.
This guide for drywall hole repair in Dallas, TX explains how each size is handled, what the finishing steps involve, what to watch for in older homes, and when it makes sense to hire someone.
First, Figure Out the Size and the Cause
Size sets the method, but the cause matters too. Here’s a rough guide, though sources draw the lines slightly differently:
| Hole size | Typical cause | Usual repair |
| Under about ½ inch | Nail holes, screws, small anchors | Spackle |
| About ½ to 6 inches | Doorknob impact, removed fixtures, larger anchors | Self-adhesive patch or a cut-in patch with joint compound |
| Over about 6 inches | Hard impact, access holes for plumbing or wiring | Cut out the damaged section and rebuild with backing |
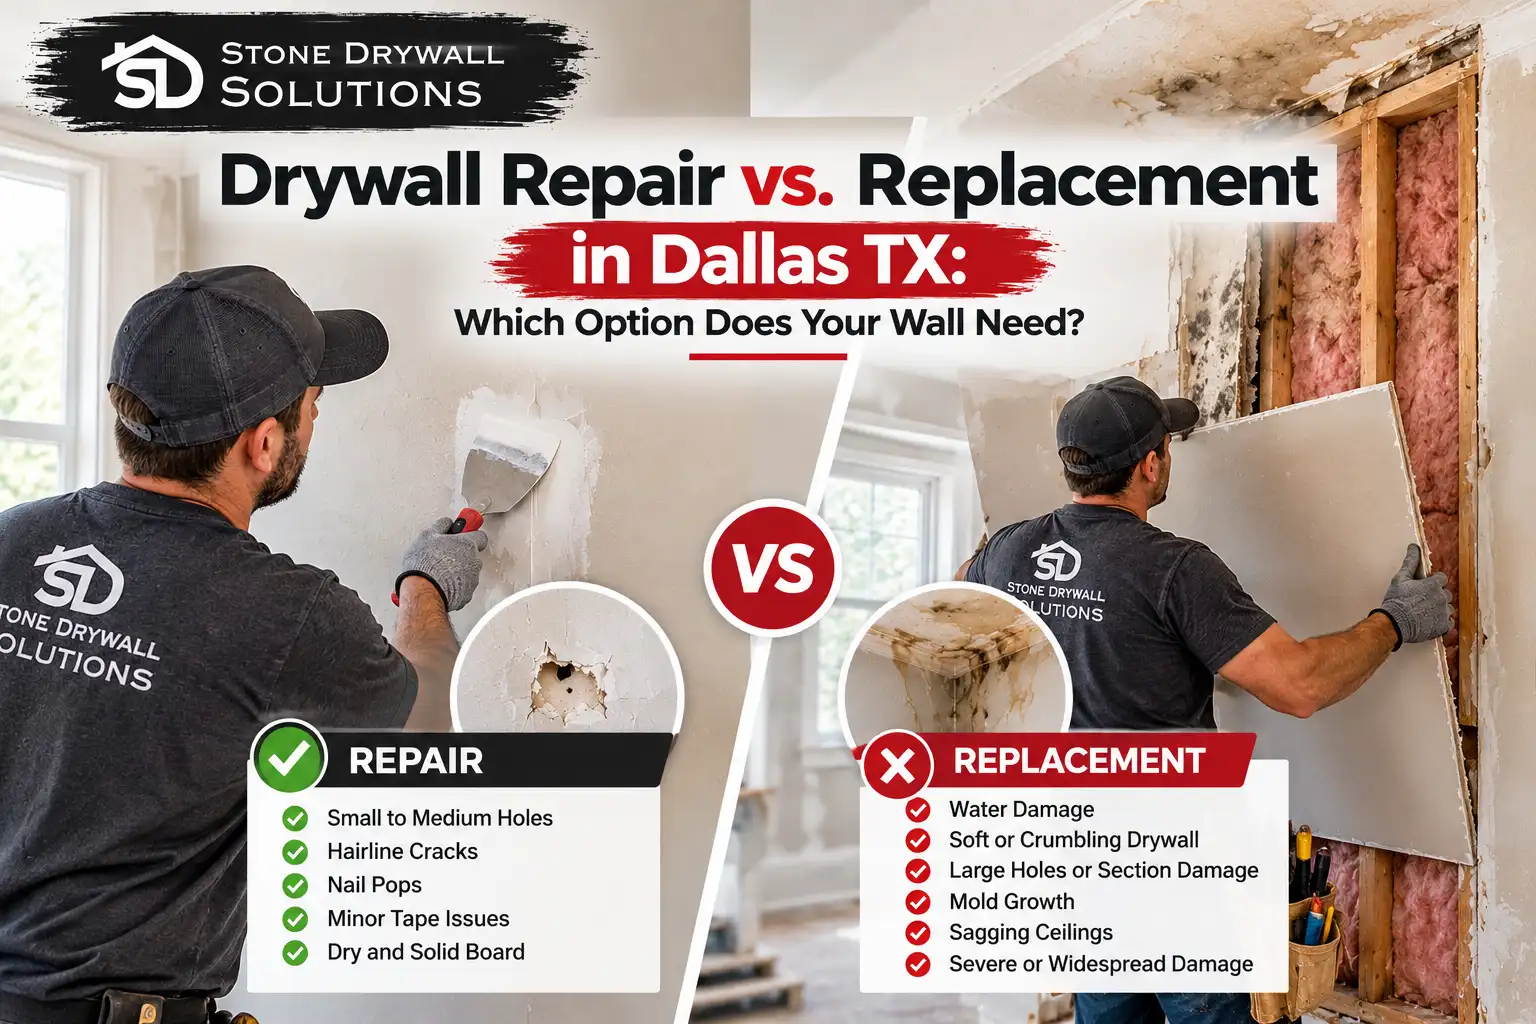
Check the cause before you start. If a hole or soft spot came from water damage, patching over it isn’t enough. Wet or damaged drywall has to be cut out and replaced, and the leak has to be found and fixed first, or the problem comes back.
How Small Holes Are Repaired
Small holes are the simplest fix. For nail holes, screw holes, and small dents:
- Clean the area and remove any loose debris or paper.
- Press lightweight spackle into the hole with a putty knife or fingertip, leaving it slightly proud of the surface.
- Let it dry, then sand it flush.
- Prime the spot, then paint.
For anchor holes, remove the anchor if it comes out cleanly, or push it flush, then fill over it. Spackle and joint compound look alike but serve different purposes: spackle suits small repairs and dents, while joint compound feathers and sands better for patches and seams. On a textured wall, a small filled hole may need a dab of matching texture before paint so it doesn’t show as a smooth spot.
Medium Holes: Patches That Bridge the Gap
Once a hole passes about half an inch, spackle alone will crack or sink. Medium holes, like the classic doorknob impact, are usually handled with one of two methods:
- A self-adhesive mesh or metal patch, pressed over the cleaned hole and covered with joint compound
- A cut-in (“California”) patch, where a small piece of drywall is cut to fit and set in with compound and tape
The principle is the same in both: apply thin coats of joint compound and feather the edges, which means gradually thinning the compound outward so the repair blends into the wall. Spreading a thin coat past the patch edges, letting it dry, and repeating two or three times works better than one thick coat, which shrinks, cracks, and takes longer to sand. Skipping the drying time between coats is a common reason patches show through paint.
Large Holes: Cutting Out and Rebuilding the Section
Large holes can’t be bridged, so the damaged area is cut out and a new piece of drywall is installed. The key detail is backing support:
- Check what’s behind the wall. Make sure there are no wires or pipes in the cutting area before you cut.
- Cut a clean opening, usually a square or rectangle, so the patch fits snugly.
- Add backing. Wood strips or furring are screwed inside the opening to give the new piece something to attach to. Without backing, the patch flexes and cracks along the joint.
- Fit the new piece and screw it to the backing.
- Tape the seams and apply joint compound in several thin coats, feathering outward.
- Sand, prime, texture, and paint.
Large repairs often take a day or two, since each coat has to dry before the next. Skipping the backing is one of the classic errors, along with thick coats and rushed sanding, which we cover in our guide to common mistakes in drywall patch repair.
Finishing Is What You See: Sanding, Primer, Texture, and Paint
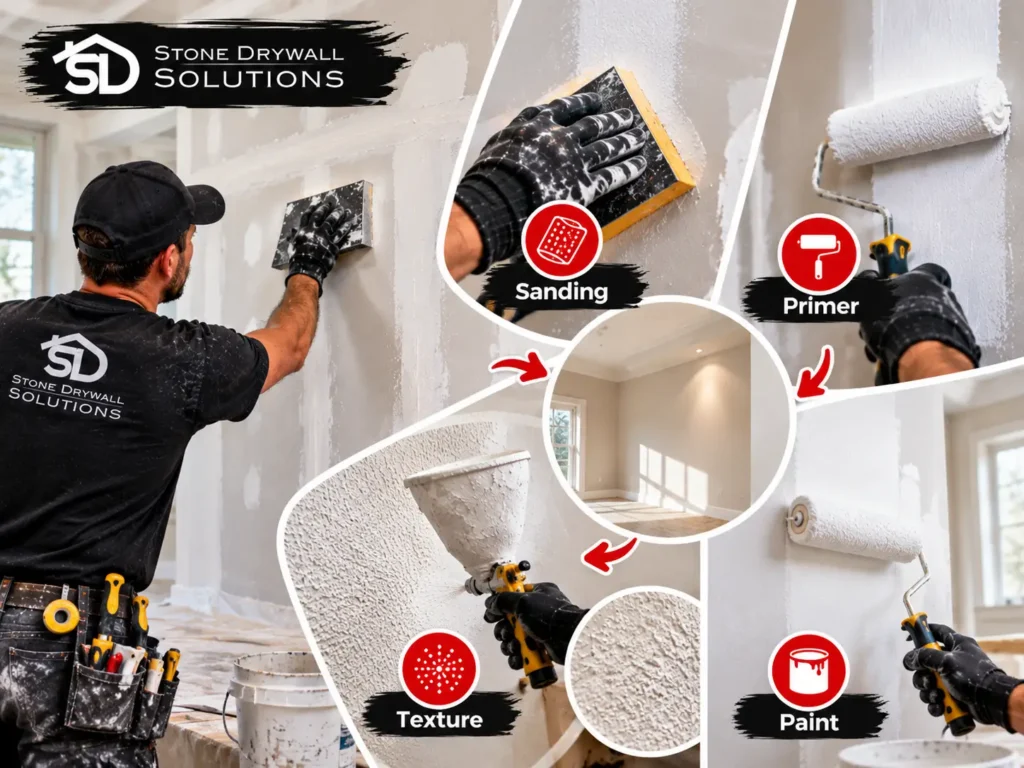
A patch can be structurally perfect and still stand out if the finishing is off.
Sanding. Light, even sanding feathers the edges so there’s no visible ridge. It’s where most of the dust comes from, so wear a dust mask.
Primer. Joint compound is porous and absorbs paint differently from the surrounding wall, which shows up as a dull patch called flashing. A coat of primer seals the repair so the paint dries evenly. Don’t skip it.
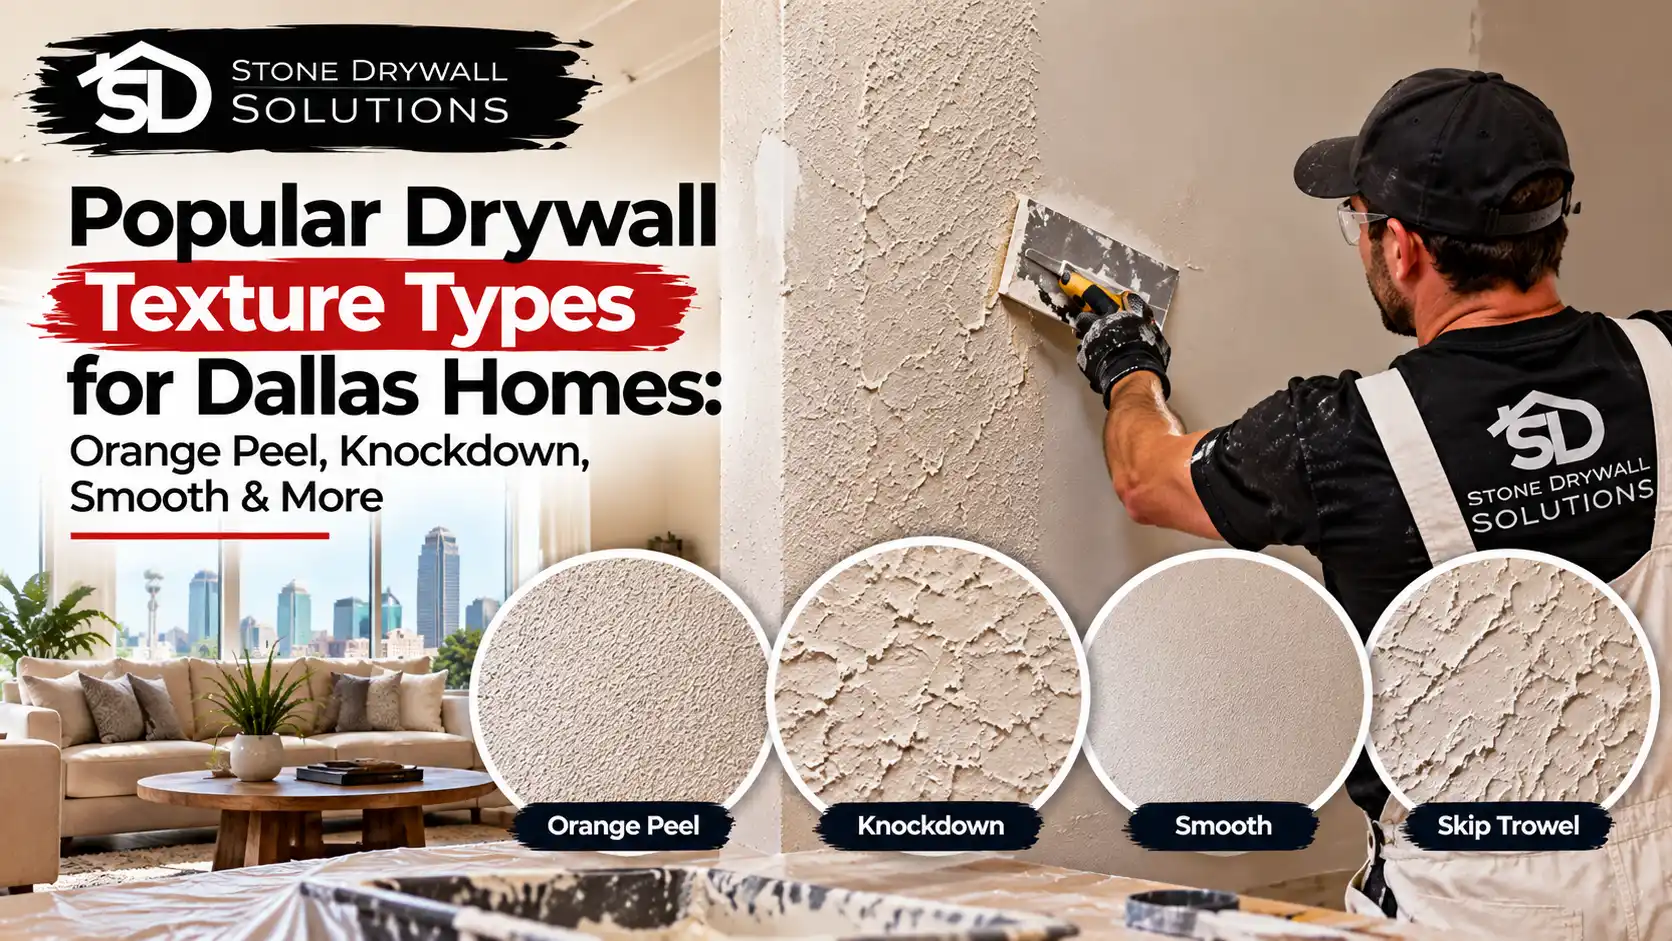
Texture matching. Many North Texas homes have orange peel, knockdown, or other sprayed or hand-applied textures. A patch has to reproduce that pattern or it will read as a smooth rectangle. Spray-can textures, thinned compound applied with a sponge or brush, and practice on a scrap piece can help a DIY repair blend. Reproducing a hand-applied pattern across a larger patch is more demanding, and it’s the job of professional drywall texturing.
Paint. Even with a good patch, touching up one spot can leave a visible difference, because paint ages and fades. For a clean result, it’s often best to repaint the whole wall, corner to corner.
Safety: Sanding Dust and Older Homes
Dust from joint compound is a nuisance in any home, and in an older one it can be more than that. The EPA notes that homes built before 1978 may contain lead-based paint, and joint compound, texture, and older tapes in homes built before roughly 1980 may contain asbestos. Sanding or scraping can release both as dust, and you can’t tell by looking.
A few steps help:
- In an older home, have suspect paint, compound, or texture tested before you sand, scrape, or cut.
- Never dry-sand a wall you suspect contains asbestos or lead.
- Under the EPA’s Renovation, Repair and Painting (RRP) rule, contractors paid to disturb painted surfaces in pre-1978 homes must be certified and follow lead-safe practices.
Dallas has many older neighborhoods, so it’s worth asking about this before any repair that involves sanding.
DIY or Call a Professional?
Small and medium holes on a plain wall are reasonable DIY projects. A pro makes more sense when:
- The hole is large, or there are several holes in one area
- The damage is on a ceiling, where gravity and dust make the job harder
- The wall has texture that has to blend invisibly
- Water damage is involved, since the source and any hidden moisture need attention first
- The home was built before 1978, and sanding raises lead or asbestos concerns
- You want it done in one visit, without waiting for multiple coats to dry
Stone Drywall Solutions’ drywall repair work follows that same sequence: assess the damage, prepare the area, cut out damaged sections, install new drywall where needed, sand and finish, then match the texture and paint.
Frequently Asked Questions
Can I use spackle on a large hole?
No. Spackle is for small holes and shallow dents. Larger holes need a patch or new drywall with backing, or the filler will crack and sink.
How long does a repair take?
Small repairs can be done the same day, though paint needs time to dry. Large repairs often take one to two days, since each layer of compound has to dry before sanding.
Why does my patch show through the paint?
Usually it’s one of three things: no primer over the compound, a texture that doesn’t match, or a wall that has faded around fresh paint. Primer and repainting the full wall solve most of it.
Do I need to replace a whole sheet of drywall?
Rarely. Whole-sheet replacement is usually for water damage or many holes in one area. Most hole damage can be repaired in place.
Who can handle hole repair in the Dallas area?
Stone Drywall Solutions serves Dallas and surrounding communities, including Arlington, Irving, Carrollton, Plano, and Fort Worth.
Need a Hole Repaired?
If you have a hole that’s too big to patch yourself, or a repair that needs to blend into textured walls, Contact Stone Drywall Solutions or call (469) 999-8302 to describe the damage and request a quote.