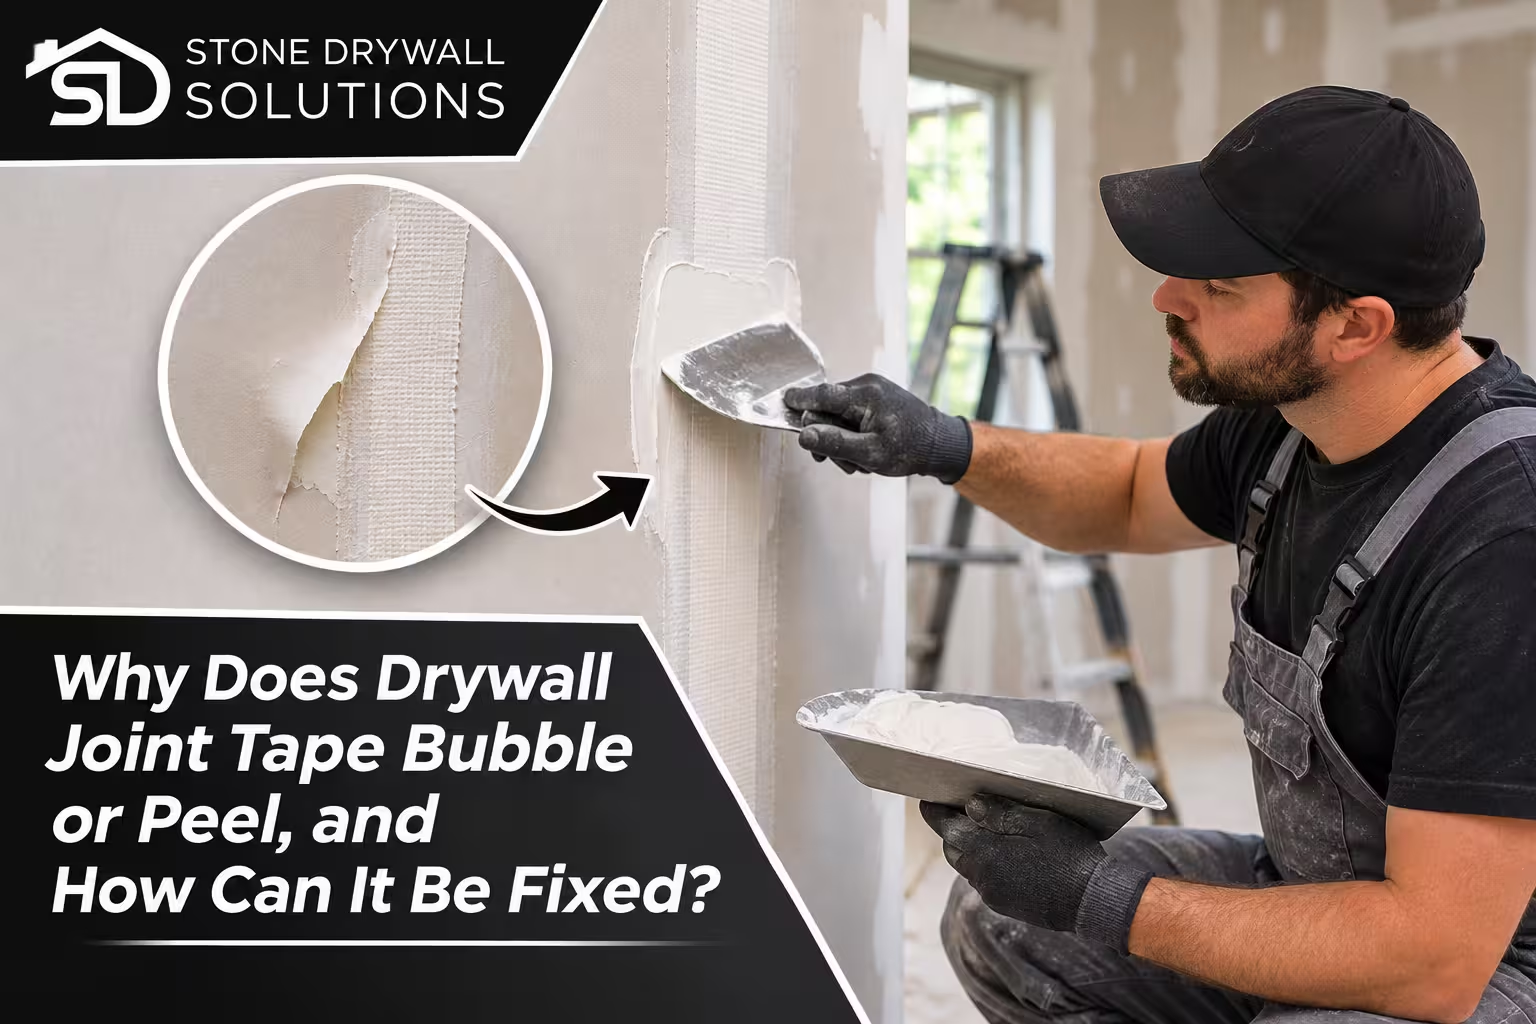
You run a hand along a freshly painted ceiling seam and feel a soft blister, or you spot a thin edge of tape curling away from the wall. Drywall tape bubbling looks like a small cosmetic flaw, but it means the tape never bonded to the joint the way it should. Paint won’t hold a loose strip of tape down. Sooner or later the bubble cracks, flakes, or shows through the finish.
This guide covers what causes bubbling and peeling drywall tape, how moisture and drying conditions play a part, how to repair a failed seam, and how to tell a simple bonding problem from a crack that’s really caused by the house moving.
Why Drywall Tape Bubbling Happens
Paper joint tape doesn’t stick on its own. It relies on a bed of joint compound underneath, and that compound contains the adhesive that holds the paper to the gypsum board. When the bond is incomplete, air or an empty gap sits under the tape and forms a blister. Nearly every cause comes back to that bed of compound or to how the tape was pressed into it.
Too little compound under the tape
This is the most commonly cited cause. Trade guides generally call for a layer of roughly 1/16 inch under the tape, and the tapered edge of the board is shaped to make room for it. When a finisher scrapes most of that compound away, the paper ends up pressed against bare board with nothing to grip. Heavy knife pressure causes the same problem by squeezing the compound out from behind the tape. Compound that’s too stiff or has started to dry out can also fail to wet the paper properly.
Poor embedment and trapped air
Tape has to make contact with the compound across its full width. If a section is pressed unevenly, a pocket of air stays behind. Dry spots are a related problem, since paper tape that isn’t fully embedded can bubble or lift later as the joint dries. The reverse mistake matters too. Too much compound makes it hard to press the knife down firmly, which leaves gaps under the tape.
Moisture from the next coat
Paper absorbs water. When the second coat goes on, the tape can pull moisture in and start wicking away from the board if the bond underneath is thin. That’s why many blisters show up after the second coat, or only after paint.
Dust, gaps, and unprepared surfaces
Dusty board gives the compound a poor surface to grip. Wide gaps between sheets are another weak point, and they’re best filled with setting-type compounds and left to harden before taping. Tape laid over loose or torn paper edges has nothing solid underneath it.
Moisture, Humidity, and Drying Conditions
Moisture affects tape in two different ways: during finishing and long after.
During finishing, conditions on the job matter more than most people expect. The Gypsum Association’s guidance on joint treatment in extreme weather explains that hot, dry air speeds up drying, cold air slows it, and humid or damp air slows it as well. Localized heat can dry compound so fast that it cracks or delaminates in spots. In poor conditions, a single coat can take more than three days to dry. Manufacturers also call for keeping the room at 50°F or warmer during finishing. Rushing the next coat over a compound that hasn’t cured is a quiet source of drywall tape adhesion failure. Setting-type compounds, which cure chemically instead of by evaporation, are often recommended when conditions are cold or damp.
After finishing, the cause can be an actual water source. Moisture is a leading reason drywall bubbles in general, whether from a roof or plumbing leak or ongoing humidity. A bubble that feels soft, looks stained, or comes with a musty smell is a moisture problem first and a tape problem second. For more on how persistent humidity affects drywall, this guide to preventing mold growth on drywall in humid climates covers the details.
Paper Tape, Mesh Tape, and Compound Matching
The tape and compound have to suit each other. Paper tape works with both drying-type (all-purpose) and setting-type joint compound, and manufacturer testing has found it reinforces joints well with either one. Fiberglass mesh tape is self-adhesive, so it skips the bedding coat. It’s meant to be covered with setting-type compound, and pairing mesh with a drying-type compound is the combination to avoid.
Mesh is less prone to trapped air bubbles than paper, but it’s not a cure-all. A mismatched system can fail in ways that look like peeling or cracking weeks or months later. Compound can also be contaminated by dirty water or leftover material from a previous mix, which weakens the bond. When bubbles keep returning in the same house, it’s worth asking which tape and compound were used together.
Tape Failure or Framing Movement? How to Tell the Difference
Not every defect along a seam is a bonding problem. The two look similar from across the room, but they behave differently.
A localized bonding failure usually shows up as:
- A raised blister or a lifted edge on one short stretch of the seam
- Tape that feels loose or hollow when pressed
- A problem that appeared soon after finishing or painting
- A spot that stays fixed once it’s properly re-taped
Movement-related cracking tends to look different:
- A crack that runs the length of a seam or radiates from a door or window corner
- A crack that reopens in the same place after a proper repair
- Other signs nearby, such as sticking doors, nail pops, or gaps where the ceiling meets the wall
Tape helps a joint resist cracking from ordinary building movement, but it can’t hold a seam together against significant shifting. The Gypsum Association also notes that swings between weather extremes can move wood framing. In North Texas, foundation specialists describe much of the region as expansive clay country, where soil swells when wet and shrinks when dry, and that seasonal cycle can flex wall and ceiling framing. If a seam keeps reopening after a sound repair, suspect movement rather than the tape. This guide on preventing drywall cracks in Texas homes explains that side in more depth.
How to Fix Bubbling or Peeling Drywall Tape
Once you’ve ruled out moisture and movement, a bonding failure is straightforward to repair. The goal is to remove the part that isn’t bonded and rebuild it properly, not to paste over it.
- Check the area first. Press gently around the bubble. If the board feels damp or soft, deal with the water source before doing anything cosmetic.
- Cut out the loose tape. Use a sharp utility knife to slit and lift the blistered section, taking care not to gouge the board beneath. A small, flat bubble can sometimes be slit, filled with compound, and pressed back down. If the bubble spans the joint, cut across the tape on both sides of it and remove the loose piece.
- Clean the seam. Scrape off cracked or flaking compound and wipe away dust with a damp rag. Let the surface dry.
- Re-bed the tape. Spread a thin, even layer of compound over the exposed joint, then press a new piece of tape into it so it overlaps the sound tape slightly at each end. Work from the center outward with firm, even pressure, leaving a little compound squeezing out at the edges without scraping the bed dry.
- Skim over the tape. Apply a thin coat that covers the tape fully, feathering the edges well beyond it. Thick coats create a new bulge and dry slowly.
- Let it dry completely. Drying time depends on temperature and humidity, so a day is only a rough guess. Add a second thin coat if needed.
- Sand, prime, and paint. Primer helps the repair blend instead of flashing through the paint.
That approach suits a bubble or two. When failed tape runs along an entire ceiling seam, or shows up across several rooms, the work gets slow and easy to leave uneven. Professional tape and mud drywall work in Dallas is built for that situation, with consistent bedding, coats, and sanding across every seam.
When Repeated Seam Defects Call for a Pro
If bubbles come back after a careful repair, or they appear across multiple seams, the cause is probably bigger than one spot of missing compound. Likely culprits include a tape and compound mismatch, poor drying conditions between coats, hidden moisture, or movement in the framing. Fixing the same seam a third time rarely changes the outcome.
When you talk to any contractor, ask which tape and compound they plan to use together and why, how they handle drying time between coats, and whether they’ll check for moisture before refinishing. Stone Drywall Solutions can look at the seams and help sort out whether the problem is the finish or something behind it. The team works on homes across Dallas and the surrounding North Texas cities.
The Next Step
Bubbling tape almost always means the bond failed somewhere, and the fix that lasts is cutting out what isn’t stuck and rebuilding it with enough compound, firm embedment, and proper drying time. If the same seam keeps failing, or you see signs of moisture or movement, it helps to get a second opinion before repairing again. You can get in touch with the team to talk through what you’re seeing, or call (469) 999-8302.