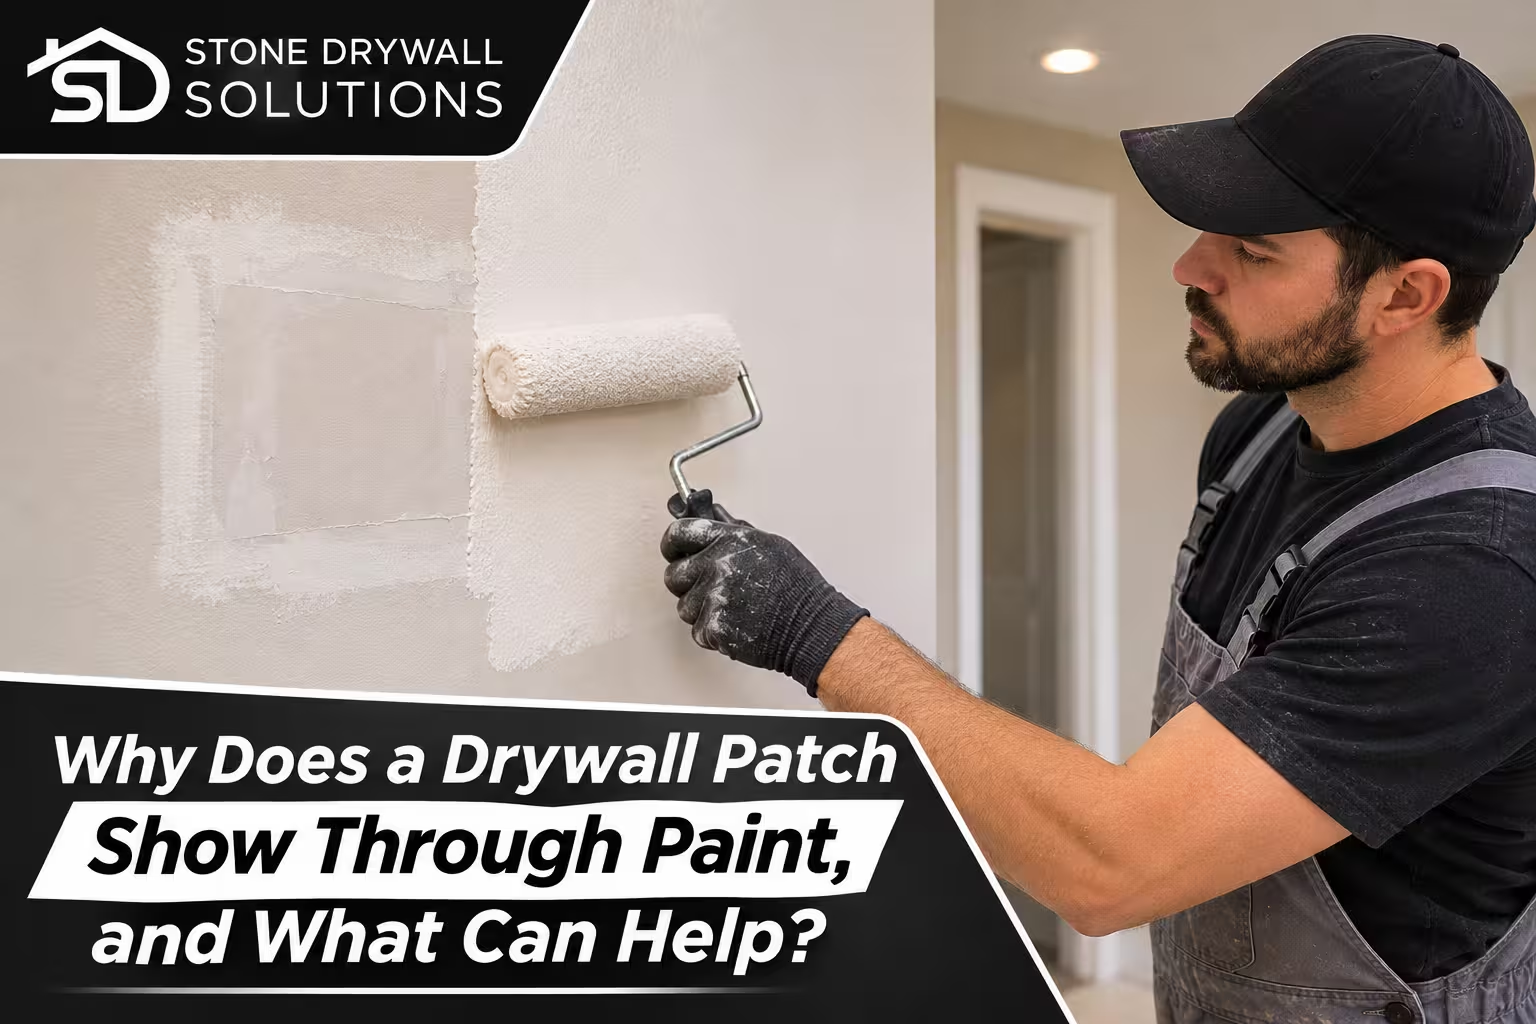
The hole is filled, the compound is sanded, and the wall has a fresh coat of paint. Then the afternoon sun hits the wall at an angle and the outline of the repair appears, like a faint shadow where the damage used to be. A drywall patch showing through paint is one of the most common frustrations after a repair, and it often happens even when the patch itself is solid and flat.
The reason is that your eye doesn’t judge a patch by how well it’s built. It judges how the patch reflects light compared with the wall around it. This guide explains the main reasons a finished patch stays visible, how to check what’s wrong with yours, and what can help.
Why a Sound Drywall Patch Can Still Show After Painting
A patch can be structurally perfect and still stand out, because paint reveals differences in the surface underneath it. Four things usually give a repair away:
- The patch absorbs paint differently than the wall around it
- The edges weren’t blended wide enough into the surrounding surface
- The texture of the patch doesn’t match the texture of the wall
- The paint sheen and the room’s lighting exaggerate small differences
Often it’s a combination. Understanding which one you’re dealing with tells you whether you need a quick fix or a repair of the finish itself.
Porosity Differences and Paint Flashing
Joint compound is thirstier than the paper face of gypsum board, and both absorb paint differently than an older painted wall. Fine Homebuilding notes that joints and fastener heads can show even under several coats of compound because the compound and the paper face have different porosities and reflect light differently. When a topcoat goes over all of these surfaces at once, it dries and cures at different rates, leaving dull, chalky patches next to areas with more sheen. That uneven look is called paint flashing.
Flashing isn’t a paint defect. It comes from skipping or partially doing the sealing step:
- Bare compound with no primer. The compound soaks up the finish paint before it can level out, leaving a dull spot exactly where the repair sits.
- Spot priming only. The patch is sealed and the rest of the wall is already painted, but the boundary between fresh primer and older paint absorbs differently. A hard primer edge can become its own visible outline.
- Paint-and-primer in one. These products don’t replace a true drywall primer over fresh compound or significant patchwork.
- A mix of old paint types. On older walls, a patch of latex next to oil-based paint can look like flashing but is really a compatibility issue.
A PVA primer-sealer evens out porosity so the topcoat absorbs uniformly. It doesn’t correct surface texture, though. For rough or uneven areas, a high-build primer can fill minor imperfections, but it still can’t hide a poorly finished patch.
Poor Feathering and Sanding Irregularities
Feathered joint compound means spreading the repair outward in thin, gradual layers until it disappears into the wall. When feathering is too narrow, the patch edge becomes a faint ridge. You may not see it looking straight at the wall, but it shows up in side light. Uneven sanding can create the opposite problem, a shallow trough around the repair.
A few habits make a difference:
- Spread each coat slightly wider than the last, using a wide taping knife for smooth transitions
- Build the repair in thin coats instead of one thick layer, which leaves an obvious raised patch
- Many finishers feather several inches beyond the repair, and farther on larger patches
- Sand with a light touch on a sanding block so you taper the patch instead of cutting a flat spot into the surrounding wall
- Wipe or vacuum the dust off before priming, since dust prevents primer from contacting the surface
If a patch still shows after painting, the feathered halo usually wasn’t wide enough, or the wall wasn’t primed as a whole.
Drywall Texture Mismatch
On a textured wall, a smooth patch is hard to miss. Paint can’t hide that kind of difference, because the wall has dimension and the patch doesn’t. A flat patch next to orange peel texture or knockdown texture catches the eye immediately, especially in raking light from a window or lamp.
A mismatch isn’t always about the wrong pattern. Common versions include:
- A flat patch on a wall with visible texture
- The right pattern at the wrong scale or density
- Knockdown peaks left unflattened, or flattened too much
- Texture that stops abruptly at the patch boundary instead of blending outward
Matching a texture takes more than spraying the same product. The patch has to be sealed first, since bare compound flashes before texture even goes on. Knockdown needs the texture to tack up before it’s flattened, and the peaks should be only partly flattened to match the surrounding wall. Testing on a scrap piece before touching the wall is a good habit. When a wall’s texture is heavy, older, or a blend of past repairs, a professional drywall texturing job is often the more dependable way to get a match.
Paint Sheen and Lighting
Sheen is a major reason patches show. The higher the sheen, the more light the surface reflects, and the more it exaggerates small imperfections. Flat paint scatters light and hides the most. Semi-gloss and satin finishes are less forgiving, and they show every ridge and porosity difference.
Lighting works the same way. Strong side light from large windows or surface-mounted fixtures, which the Gypsum Association calls critical lighting, can reveal even minor surface irregularities. For gloss paints, dark colors, or critical lighting, the Gypsum Association’s GA-214 recommends a Level 5 finish, which adds a full skim coat over the surface. If a patch only shows at a certain time of day, lighting is likely part of the cause. For more on choosing finishes for Texas homes, this guide to paint finishes for drywall in Texas is a helpful companion.
What Can Help When a Patch Already Shows
Start by confirming what you’re seeing. Hold a flashlight close to the wall at a shallow angle and look from several directions. That exaggerates differences the same way a window or lamp would. Then match the fix to the symptom:
- Dull or shiny rectangle, but the surface feels smooth. This points to flashing. Prime the full affected wall with a sealer, then repaint corner to corner. Painting only the patch usually creates a sheen halo around it.
- A faint ridge or outline you can feel. The feathering was too narrow. Sand the edge smooth, apply a thin skim coat that extends well past the old edge, let it dry fully, sand, then prime and repaint.
- A smooth patch on a textured wall. Reapply texture that matches the surrounding wall’s pattern and scale, blend the edges outward, then prime and paint.
- Patch only shows at certain times of day. Consider a lower sheen, or a smoother finish level across the wall, since lighting is exaggerating the surface.
Always let compound dry completely before sanding or priming, and wipe away the dust. If the repair needs to be rebuilt rather than touched up, professional drywall repair in Dallas can reset the patch and refinish it so it blends.
When to Bring in a Professional
If you’ve already repainted a patch more than once, the problem is probably in the finish underneath instead of the topcoat. Repeated touch-ups can also build up thick layers that make an area look worse. It helps to ask a contractor how they’ll blend the edges, how they plan to seal the repair before painting, and whether they’ll check the result under raking light before calling it done.
Stone Drywall Solutions offers drywall repair and drywall texturing for homes across Dallas and the surrounding North Texas cities, and can look at a repair that still shows and recommend what it needs.
The Next Step
A patch that shows through paint usually means one of four things: uneven porosity, narrow feathering, mismatched texture, or a sheen that’s too revealing. Check it under raking light, match the fix to the symptom, and treat the whole wall when needed. If you’d rather have someone else sort it out, you can get in touch with the team to talk through what you’re seeing, or call (469) 999-8302.