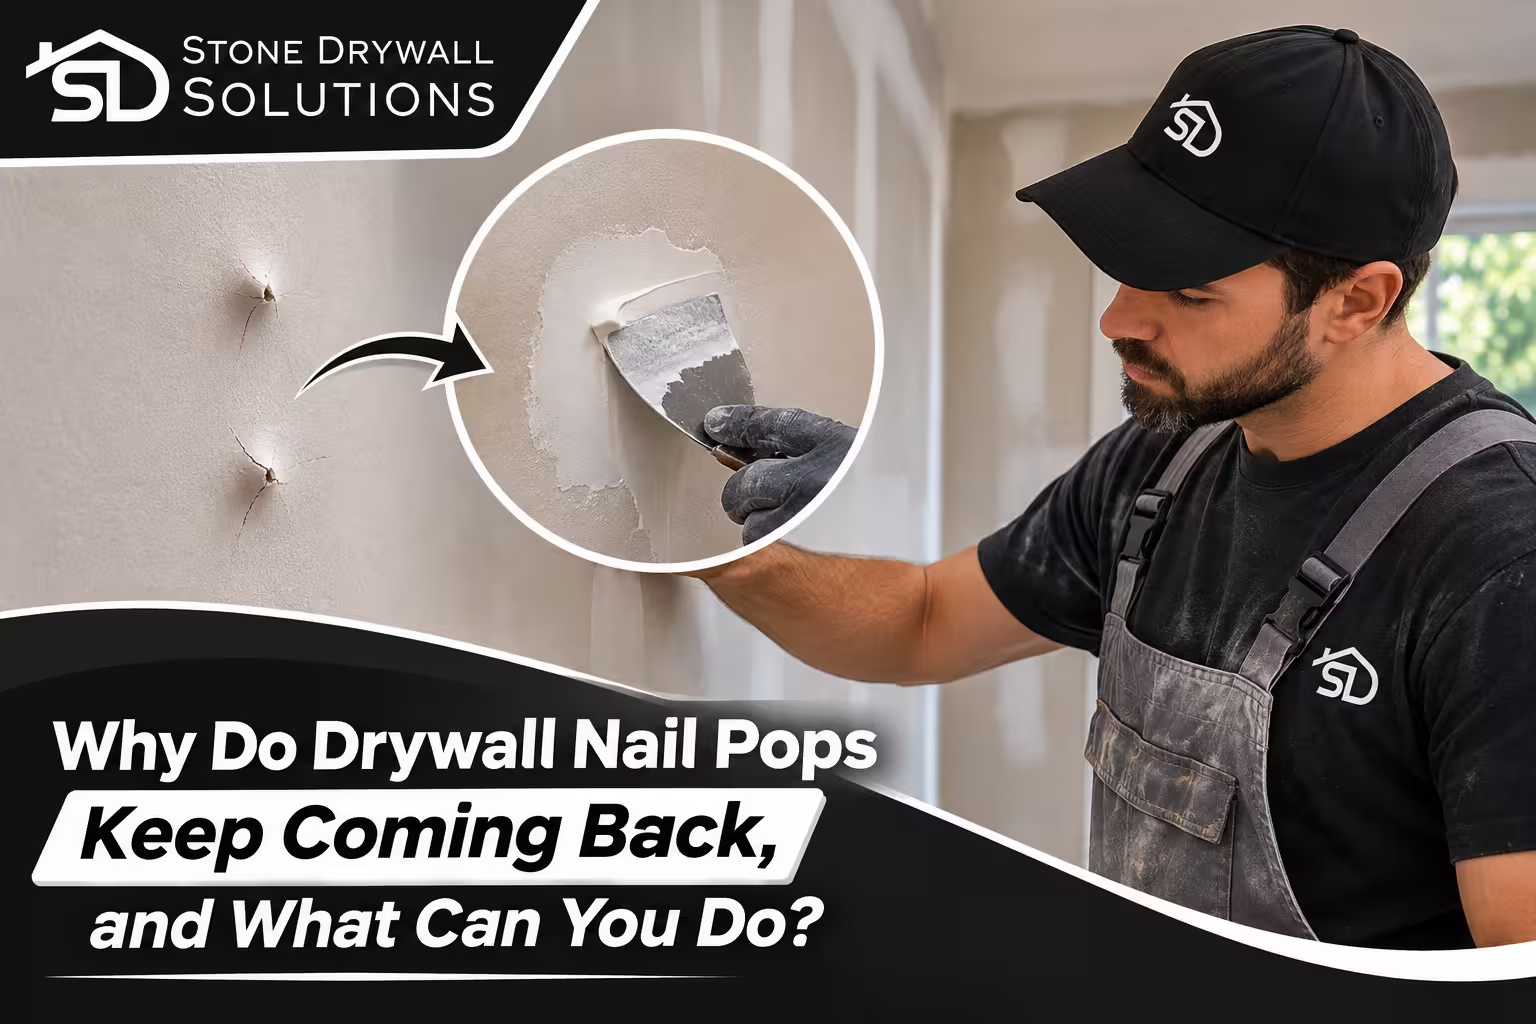
You patched it, sanded it, and painted over it. A few months later the same little bump is back, sometimes with a hairline crack curling around it. Recurring drywall nail pops are frustrating because the first repair looks right. Most quick patches only hide the symptom. The fastener that pushed through the compound is still loose, and whatever made it move is still at work behind the wall.
This guide covers why drywall nail pops reappear, which causes are harmless and which deserve a closer look, how to repair a pop so it stays fixed, and when the pattern points to something bigger than a few loose fasteners.
Why Recurring Drywall Nail Pops Return After a Patch
A nail or screw holds the gypsum board to a wood stud or ceiling joist. The head sits in a shallow dimple covered by a thin layer of joint compound, often only about an eighth of an inch thick. That covering isn’t built to restrain anything. It only hides the fastener. Once the fastener backs out, or the panel flexes around it, the compound cracks or bulges and the head shows through.
Here’s where most repairs go wrong. Tapping the nail back in and skimming over it returns the head to the same loose connection. The gap behind the board is still there, so the next bit of pressure pushes it out again. That pressure might be a slammed door, a humidity swing, or someone leaning on the wall. A patch that doesn’t re-secure the panel to the framing is a cosmetic delay, and it’s one of several common drywall patch repair mistakes that bring the same blemish back.
What Causes Drywall Nail Pops
Pops rarely have a single cause. Usually the framing moves a little while the attachment behind the board is already marginal.
Lumber shrinkage and seasonal wood movement
Framing lumber holds moisture, and as it dries it shrinks, mostly across its width. The Gypsum Association lists lumber shrinkage after panel installation as a leading cause of pops. Building research from Canada’s national housing agency found that a 10 percent change in moisture content can shrink a spruce or fir stud by up to about a quarter inch. When the wood pulls away from the back of the board, the fastener shank has little left to grip, and light pressure on the wall finishes the job.
The heating season can speed this up as indoor air dries out. Newer homes are the usual suspects because the framing is still settling toward its stable moisture level. But seasonal wood movement doesn’t stop after the first year, and older homes see it too.
Loose attachment from the original installation
Not every pop is the wood’s fault. If the panel wasn’t pressed snug against the framing during installation, a small void sits behind the board and the fastener is half-loose from day one. Fasteners that barely caught the edge of a stud, or missed it entirely, fail the same way.
Fastener choice matters as well. Longer nails give shrinking wood more shank to act on, and screw heads are larger than nail heads, so they give the panel more bearing surface. Industry standards, including ASTM C840 and the Gypsum Association’s GA-216, set fastener type and spacing based on panel thickness, framing spacing, and whether the board goes on a wall or ceiling. Work that skips those details is a common root of drywall screw pops years later.
Two other triggers are easy to overlook. Insulation packed tightly against the back of the board can keep it from seating against the framing. And hammering elsewhere in the house, such as laying new flooring or installing siding, can shake walls enough to loosen fasteners that were holding on by a thread.
Moisture, temperature swings, and ground movement
Humidity and temperature fluctuations make framing and drywall expand and contract at different rates, and fasteners sit right where those two materials meet. That’s one reason pops sometimes cluster after a wet spring or a long, hot, dry stretch.
North Texas adds a ground-level factor. Foundation specialists describe much of the Dallas–Fort Worth area as expansive clay country, where soil swells when wet and shrinks when dry. That cycle can shift a house by small amounts, enough to flex wall framing and loosen a fastener. Minor seasonal movement is normal, and isolated pops are often cosmetic. For a wider look at how Texas conditions affect drywall, this guide to preventing drywall cracks in Texas homes goes deeper on the cracking side.
Why ceiling pops are especially stubborn
Recurring nail pops in the ceiling often have a mechanical explanation. Studs shrink slightly in length, which lets the ceiling drop a hair. The wall drywall doesn’t shrink, so it presses against the ceiling board and can force ceiling fasteners outward. Roof trusses can also bow upward in winter, which pulls on ceiling fasteners and opens gaps where the ceiling meets interior walls. Gravity works against ceiling panels too, so a loose fastener has less margin up there.
Warning Signs: Routine Pops vs. a Bigger Problem
A few scattered pops along stud lines, especially in a home that’s only a few years old, are usually routine. A pattern that looks different deserves attention:
- Dozens of pops clustered in one room or one section of ceiling
- Drywall that flexes or feels loose when you press near a seam or fastener
- Crumbled gypsum or torn paper around the fastener head
- Nail pops after repair, even when the panel was re-fastened with new screws
- Pops that show up alongside sticking doors, widening cracks at door and window corners, gaps between walls and ceilings, or sloping floors
- Stains, soft spots, or a musty smell near the pops
The first few items usually point to attachment problems. The last two suggest moisture or movement beyond ordinary drying lumber.
How to Repair a Nail Pop So It Stays Fixed
The nail pop repair that lasts is the one that re-secures the panel instead of just covering the head. Here’s the commonly used approach:
- Find the framing. Locate the stud or joist on both sides of the popped fastener with a stud finder.
- Add two drywall screws. Place one about an inch above the pop and one about an inch below, driving them into solid framing while holding the board tight against the wood. Keep them clear of the old nail.
- Set or replace the popped fastener. If it’s still anchored, sink it just below the surface. If it’s loose or missed the framing, pull it and fill the hole.
- Dimple, don’t tear. Screw heads should sit slightly below the surface without breaking the paper facing. Over-tightening creates new pops.
- Scrape and fill. Remove loose compound and paint, then fill the dimples with joint compound. If the gypsum core is crumbled, clear the dust first and consider reinforcing with drywall tape.
- Build thin coats. Allow each coat to dry fully, often about a day, then sand the edges until they blend.
- Prime and paint. Primer keeps the spot from showing through as a dull patch.
That works well for a handful of pops. When there are dozens across several rooms, re-fastening every one and refinishing the surface by hand becomes slow and easy to get uneven. That’s the point where professional drywall repair in Dallas saves time and gives a more consistent finish.
Reducing the Odds of New Pops
Prevention depends on the situation. For new construction or additions, ask for dry framing lumber, screws instead of nails, panels pressed tight to the framing, and spacing that follows the standards above. In an existing home, steady indoor humidity helps limit the swings that move wood. If a remodel involves heavy hammering or vibration, expect a few pops afterward and plan to touch them up once the work is done.
When Nail Pops Call for a Broader Inspection
If pops keep returning after a proper re-fastening, the fasteners may not be the root problem. Look first for moisture, since a slow plumbing leak, roof leak, or high humidity can swell framing and loosen panels. Fix the source before refinishing anything.
If the pops come with doors that stick, cracks that keep widening, or floors that slope, bring in a foundation specialist or structural engineer before spending money on cosmetic work. They can tell you whether the movement is normal seasonal shifting or something that needs correcting.
For the drywall side of the question, Stone Drywall Solutions can look at how the board is attached and whether a repair will hold. The team works on homes across Dallas and the surrounding North Texas cities. When you talk to any contractor, ask how they’ll re-secure the panel instead of only patching over the head, and whether they’ll check for loose areas nearby.
The Next Step
Pops return because the cause is still there. Re-fasten the panel, finish it properly, and watch the spot over a full wet-and-dry season. If bumps keep coming back or show up with other signs of movement, it’s worth getting a second set of eyes on it. You can get in touch with the team to talk through what you’re seeing on your walls and ceilings, or call (469) 999-8302.